After migrating my Home Assistant setup from the Supervised version to a Docker-based setup—prompted by the official deprecation announcements— I lost some useful add-ons, particularly those that backed up the entire Home Assistant ecosystem to Google Drive. While the Docker version of Home Assistant includes its own Google Drive integration, it’s quite limited — it only backs up Home Assistant’s configuration, and doesn’t include other critical containers like Zigbee2MQTT or the MQTT broker.
Therefore, I had to find a solution to back up all the necessary data. As a bonus, the approach I found isn’t limited to Home Assistant and its complementary systems—it can be used to back up any files. In this article, I’d like to share a step-by-step guide so you can implement the same flexible and reliable backup strategy in your setup.
HOW IT WORKS
The core idea is to create separate archive files for each system (e.g., Home Assistant, Zigbee2MQTT, Mosquitto) on a daily, weekly, or other scheduled basis. These archives are stored locally, allowing you to easily roll back to a previous configuration if needed. Additionally, the archives are automatically synced with Google Drive to provide off-site backups in case of hardware failure or other disasters.
To implement this solution, we’ll need two components:
A script to create local backup archives of your configurations (e.g., Home Assistant, Zigbee2MQTT, Mosquitto).
A script to sync these backups to Google Drive, ensuring off-site safety and accessibility in case of system failure.
Let’s start from second one.
Google Drive Sync setup
Unfortunately, Google doesn’t offer an official client for headless Linux servers. However, the rclone tool can be used as a reliable alternative for syncing files with Google Drive.
Activating Google API
Before using rclone with Google Drive, you need to enable the Drive API and obtain OAuth credentials for secure access.
Here’s how to do it:
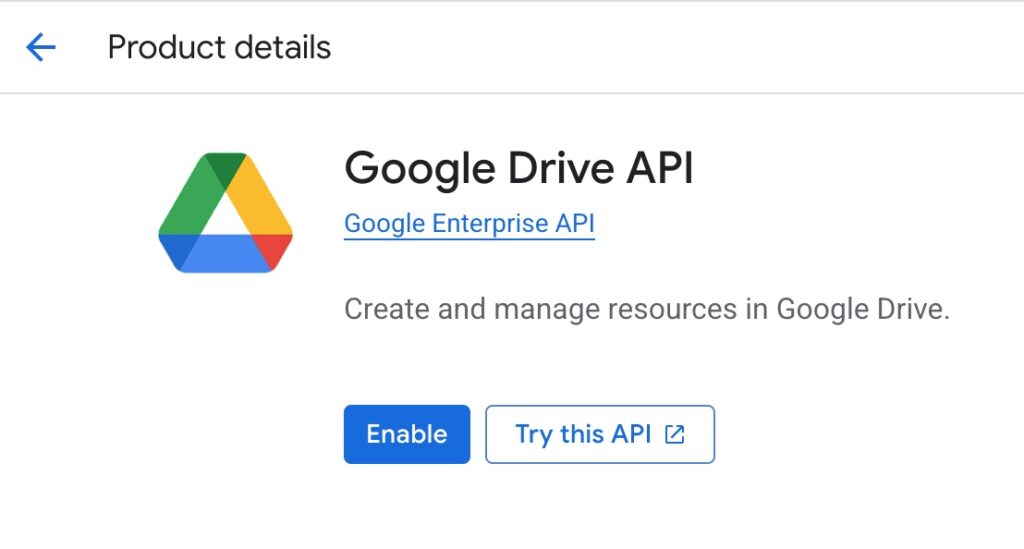
Enable Google Drive API
Go to the Google Cloud Console:
👉 https://console.cloud.google.com/Create a new project (or select an existing one).

Navigate to: APIs & Services → Library
Search for “Google Drive API”
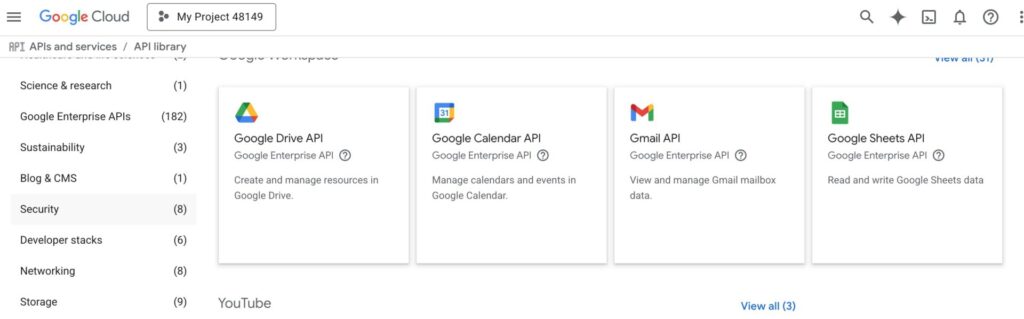
Click it, then press “Enable”
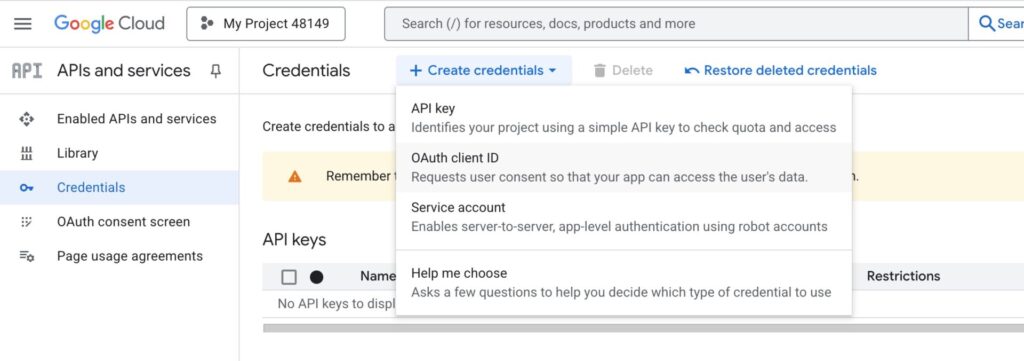
Create OAuth Credentials
Go to APIs & Services → Credentials
Click “+ Create Credentials” → “OAuth client ID”
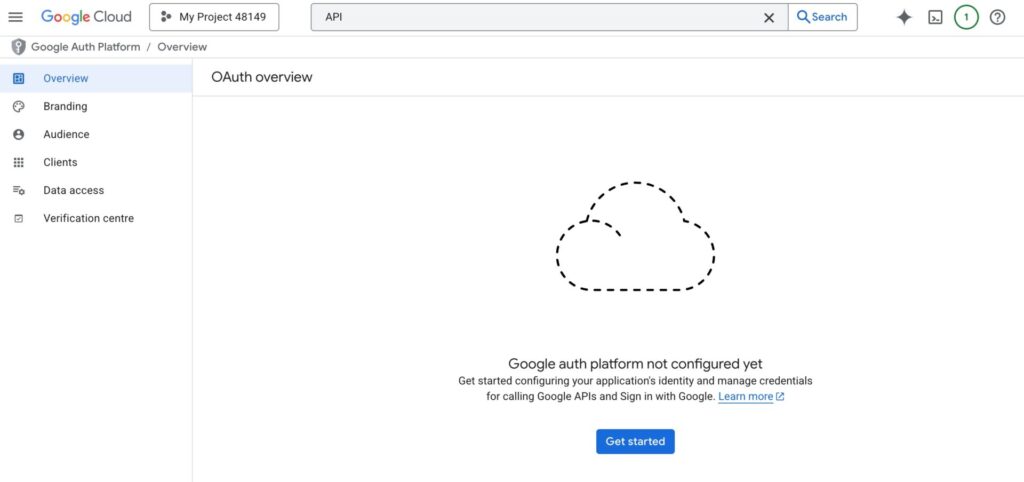
- You have to Configure concent screen if you didn’t add API credentials before:
- Click on “Configure content screen”.
- Click get started:
- Fill you project info fields:
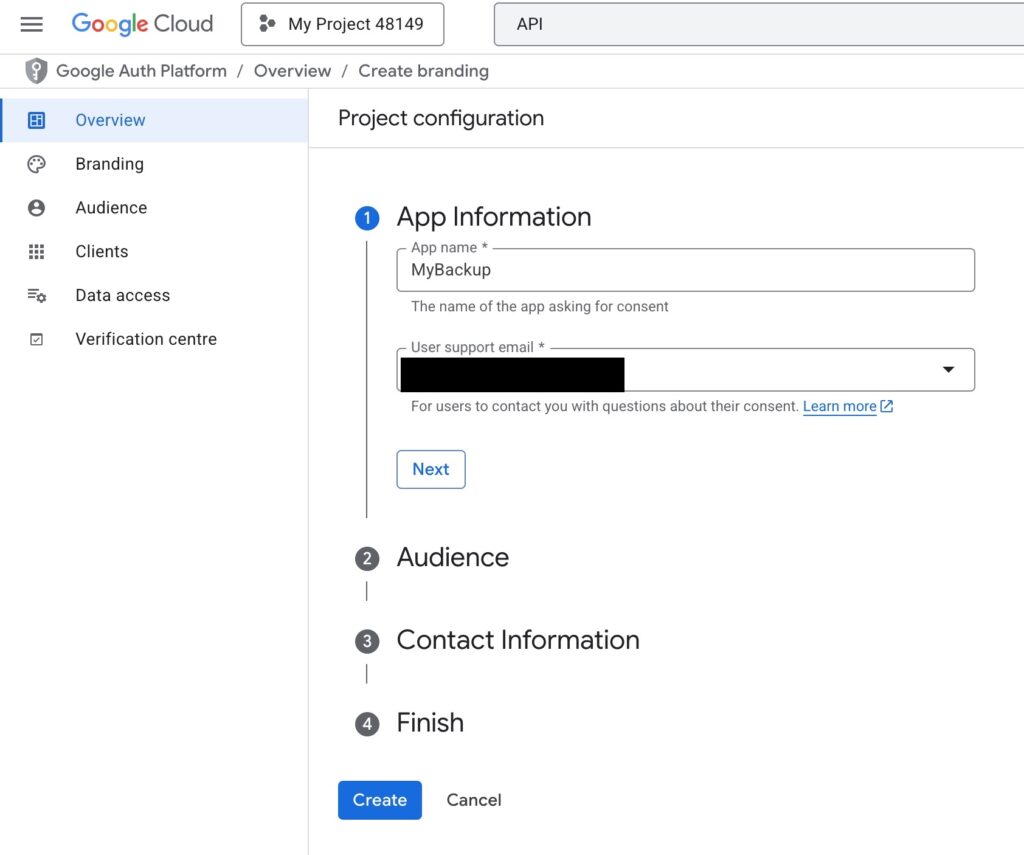
- Click next and choose External type of Audience.
- Click next and add your mail again.
- Agree with the policies and click Finish.
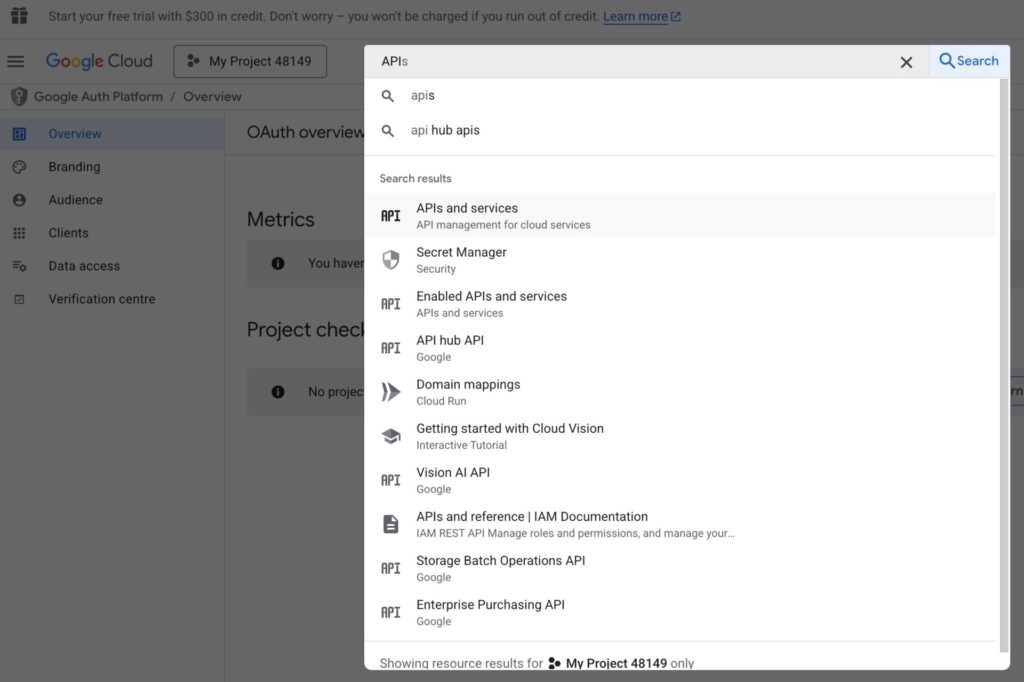
- Type API on the search field and choose “APIs and services” to go back to the previous page.
- Click Again “+ Create Credentials” → “OAuth client ID”

- Choose Desktop App
Name it (e.g.,
Rclone)Click Create
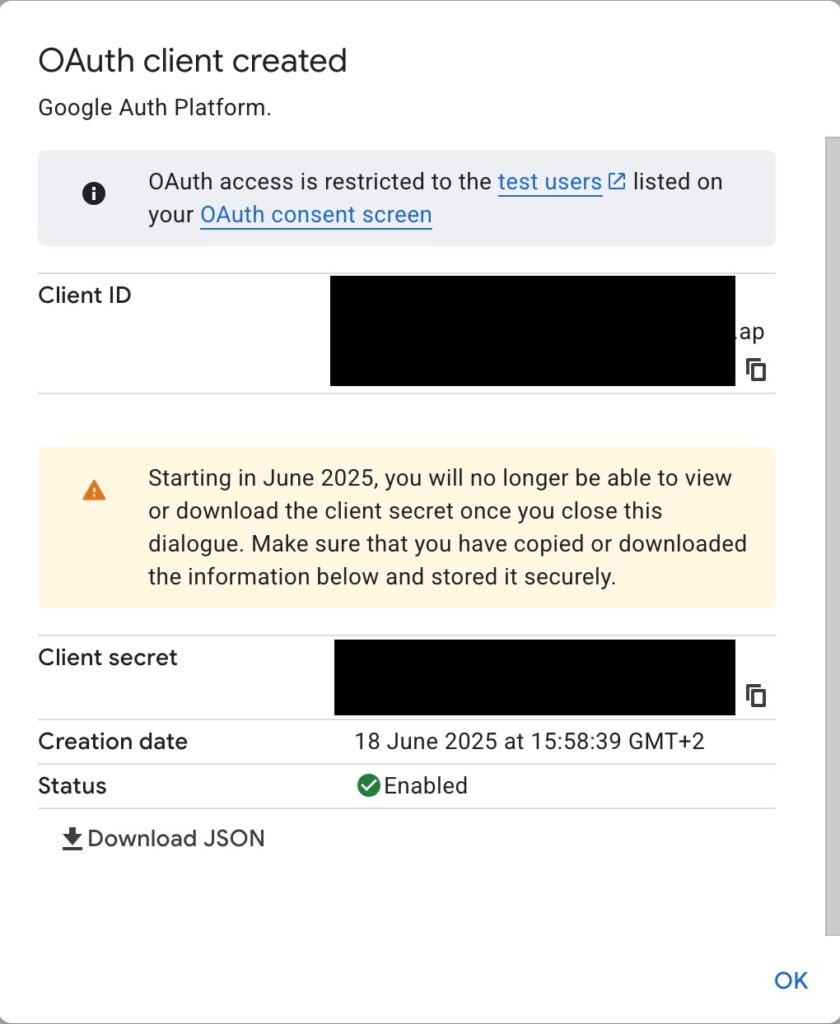
You’ll be shown:
A Client ID
A Client Secret
⚠️ **Save these—**you’ll need them in the next step.
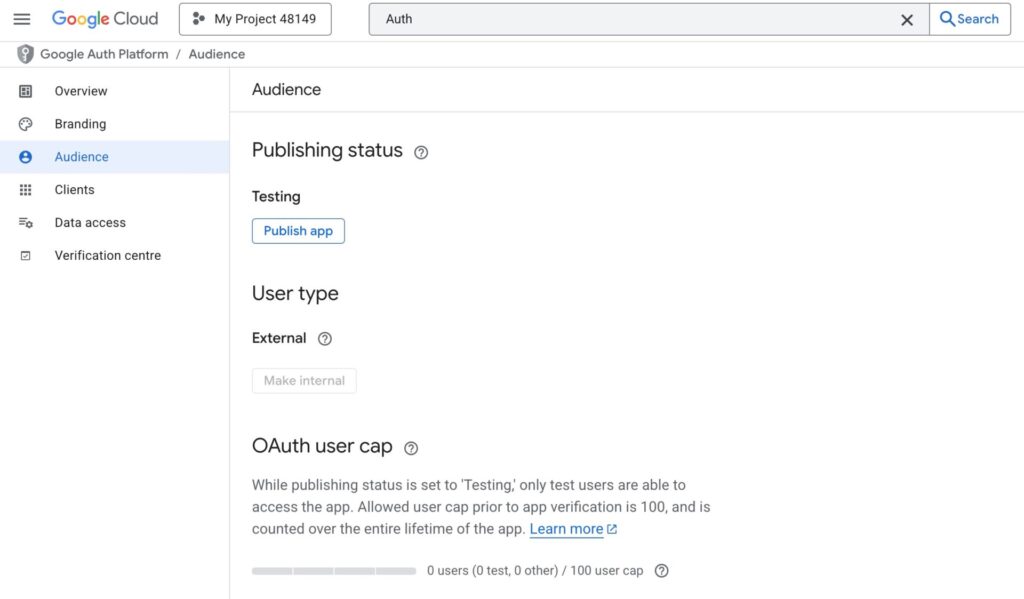
- Go to Google Auth Platform
→ Audience - Click “Publish app”
Setting Up rclone and Activating Google API
- Linux: Use the package manager (e.g., sudo apt install rclone on Debian/Ubuntu) or download from 👉 rclone.org.
- macOS: Install via Homebrew with brew install rclone.
- Windows: Download the ZIP file from the rclone website and add it to your PATH.
You’ll need to run rclone on two machines:
Your headless Linux server, where the actual syncing will take place.
Your desktop computer, which is required temporarily to authorize Google Drive access through a web browser and retrieve the access token.
rclone intall on Debian/ubuntu/raspberry os/etc.
sudo apt-get update & apt-get upgrade -y
sudo apt-get install rcloneConfigure rclone
sudo rclone config- Press n to create a new remote.
- Name your remote (e.g., gdrive).
- Choose Google Drive as the storage type and press Enter.
- Paste your Client ID from Google OAuth step creation, and press Enter.
- Paste your Client Secret from Google OAuth step creation, and press Enter.
- Choose option 1 “Full access all files, excluding Application Data Folder”.
- root_folder_id – leave empty
- service_account_file – leave empty
- Edit advanced config? – no
You’ll see:
Use web browser to automatically authenticate rclone with remote?
 * Say Y if the machine running rclone has a web browser you can use
 * Say N if running rclone on a (remote) machine without web browser access
If not sure try Y. If Y failed, try N.- Press n on headless machine.
- You’ll see following message:
Option config_token.
For this to work, you will need rclone available on a machine that has
a web browser available.
For more help and alternate methods see: https://rclone.org/remote_setup/
Execute the following on the machine with the web browser (same rclone
version recommended):
	rclone authorize "drive" "CODE"
Then paste the result.
Enter a value.- Copy the command rclone authorize “drive” with the provided code and run it on a machine with a browser.
- ⚠️ Note: If you’re only provided with an authorization link (without being prompted to run rclone authorize command), it likely means you’re using an outdated version of
rclone. In that case, update it to the latest version to ensure a smoother setup process. - Most likely, you’ll see:
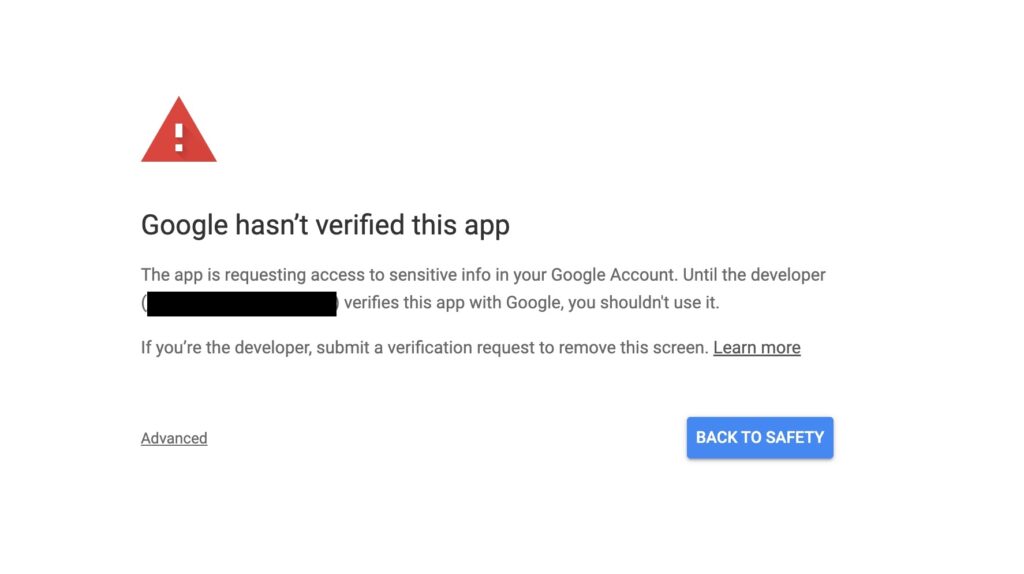
- Click “Advanced” on you bottom-left conner and “Continue at your own risk”.
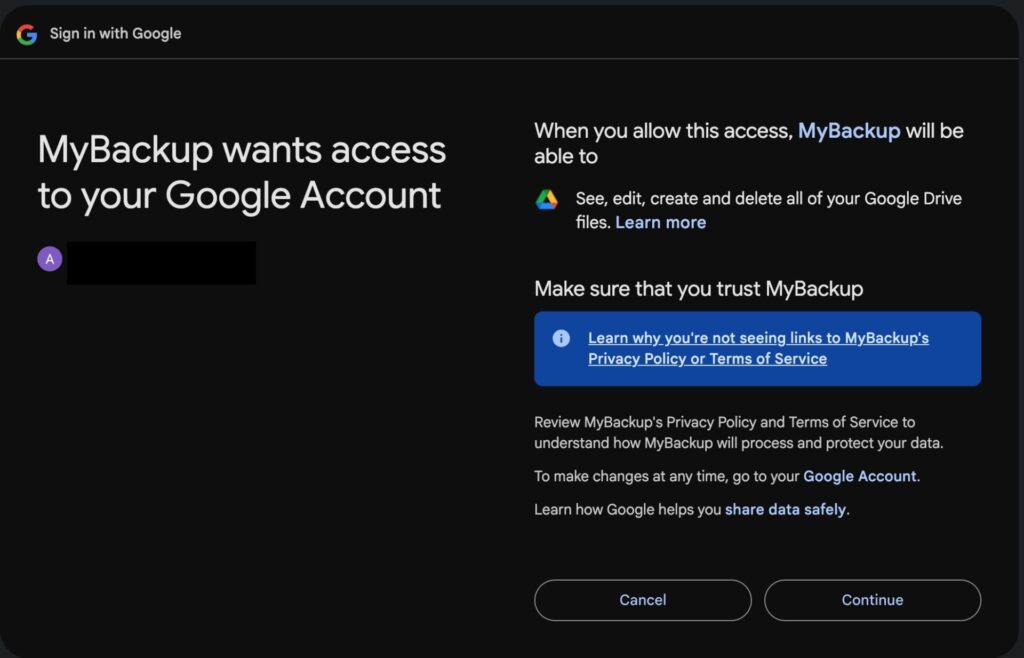
- Click “Continue” and check the result on the console of your machine with browser:
Paste the following into your remote machine --->
CODE
<---End paste- Paste this code to your server.
- Continue the setup process till the end:
- Configure this as a Shared Drive (Team Drive)? – No
Keep this “gdrive” remote? – y
Quit config – q
Now, test your setup (don’t forget to replace “gdrive” with your rclone remote name):
rclone mkdir gdrive:MyServerBackupBackup scripts creation
In this chapter, I’ll walk you through how to back up configuration files for Zigbee2MQTT, Mosquitto broker, and your Home Assistant Docker setup. These backups are essential for disaster recovery and version rollback.
For clarity and consistency, I assume you’ve followed the directory structure and docker-compose setup outlined in my previous articles. If not, I recommend reviewing those first to ensure your paths match the examples provided in the backup scripts:
- 👉 Migrating from Home Assistant Supervisor to Docker: A Step-by-Step Guide
- 👉 How to Configure Ingress Side Panel in Home Assistant (Docker Setup)
BTW, let’s assume that Home Assistant dockers are placed into /opt/HA directory.
These backup scripts are not limited to Home Assistant, Zigbee2MQTT, or Mosquitto. You can easily adapt them to back up any directory or set of files on your system. Simply update the source paths and remove or modify any container-specific commands—such as those related to restarting Docker containers—to suit your particular use case.
This flexibility allows you to extend the backup system across your entire server setup, ensuring consistent protection for all critical configurations and data.
Backup Zigbee2mqtt
Let’s create the script to back up Zigbee2MQTT with the following functionality:
Stop the container (to ensure data consistency),
Archive the configuration folder,
Restart the container,
Remove old backups (keeping only a specified number).
First of all, we have to create the script file and make it executable:
sudo touch /opt/backup_zirbee2mqtt.sh
sudo chmod a+x /opt/backup_zirbee2mqtt.sh
Open the file with your preferred text editor and add following script:
#!/bin/bash

# Configuration
CONTAINER="zigbee2mqtt" #Name of your docker container
SOURCE_DIR="/opt/HA/zigbee2mqtt/data"  # Folder to back up
BACKUP_DIR="/opt/HA/backup/zigbee2mqtt"  # Local backup destination
MAX_BACKUPS=3  # Number of backups to keep
GDRIVE_REMOTE='gdrive:Home Assistant/Zigbee2MQTT'  # Google Drive remote and folder

# Create backup directory if it doesn't exist
mkdir -p "$BACKUP_DIR"

docker stop $CONTAINER

# Create a new tar.gz backup with timestamp
TIMESTAMP=$(date +%Y%m%d_%H%M%S)
tar -czf "$BACKUP_DIR/backup_$TIMESTAMP.tar.gz" -C "$(dirname "$SOURCE_DIR")" "$(basename "$SOURCE_DIR")"

# Remove older backups, keeping only the latest 3
ls -t "$BACKUP_DIR" | grep '^backup_.*\.tar\.gz$' | tail -n +$((MAX_BACKUPS + 1)) | while read -r file; do
  rm -f "$BACKUP_DIR/$file"
done

docker start $CONTAINER
⚠️ Note: I’ve included explanatory comments directly in the script to make it easier to understand, edit, and adapt for backing up other systems.
Run it and see the result:
sudo /opt/backup_zirbee2mqtt.sh
ls  /opt/HA/backup/zigbee2mqtt
You should see the similar file but with your current date:
backup_20250616_030023.tar.gzBackup mosquitto broker
The script is largely the same, with only the file paths and container name differing.
Create the script file and make it executable:
sudo touch /opt/backup_mosquitto.sh
sudo chmod a+x /opt/backup_mosquitto.sh
Open the file with your preferred text editor and add following script:
#!/bin/bash

# Configuration
CONTAINER="mqtt"
SOURCE_DIR="/opt/HA/mosquitto"  # Folder to back up
BACKUP_DIR="/opt/HA/backup/mosquitto"  # Local backup destination
MAX_BACKUPS=3  # Number of backups to keep
GDRIVE_REMOTE='gdrive:Home Assistant/Zigbee2MQTT'  # Google Drive remote and folder

# Create backup directory if it doesn't exist
mkdir -p "$BACKUP_DIR"

docker stop $CONTAINER

# Create a new tar.gz backup with timestamp
TIMESTAMP=$(date +%Y%m%d_%H%M%S)
tar -czf "$BACKUP_DIR/backup_$TIMESTAMP.tar.gz" -C "$(dirname "$SOURCE_DIR")" "$(basename "$SOURCE_DIR")"

# Remove older backups, keeping only the latest 3
ls -t "$BACKUP_DIR" | grep '^backup_.*\.tar\.gz$' | tail -n +$((MAX_BACKUPS + 1)) | while read -r file; do
  rm -f "$BACKUP_DIR/$file"
done

docker start $CONTAINER
⚠️ Note: I’ve included explanatory comments directly in the script to make it easier to understand, edit, and adapt for backing up other systems.
Run it and see the result:
sudo /opt/backup_mosquitto.sh
ls /opt/HA/backup/mosquittobackup_20250616_030008.tar.gzBackup Home Assistant
Home Assistant has its own functionality to create backups and keep a defined number of copies, so let’s configure it:
- Navigate to Settings → System → Bacups → Local Backup Only
- Choose your preferences for backups.
- Back to “Backup” page and click ” + BACKUP NOW.
- Choose “Automatic backup“.
Check you Home Assistant backup directory:
ls /opt/HA/homeassistant/backups/You should see the similar file but with your current date:
Automatic_backup_2025.6.1_2025-06-19_00.32_22585702.tarSync with Google Drive
Next, you need to create a “master” script that orchestrates the backup process for your entire Home Assistant ecosystem. This script will sequentially execute the previously created individual backup scripts and then synchronize the resulting archives with your Google Drive.
Rclone handles this synchronization intelligently:
It uploads local files that are not yet present in your Google Drive backup folder.
It also removes files from Google Drive that no longer exist locally.
Thanks to this behavior, there’s no need to manually manage or clean up old backups in your cloud storage — Rclone takes care of it automatically.
Create the script file and make it executable:
sudo touch /opt/HA_backup.sh
sudo chmod a+x /opt/HA_backup.sh
Open the file with your preferred text editor and add following script:
#!/bin/sh
BACKUP_DIR="/opt/HA/backup"  # Local backup destination
HA_BACkUP="/opt/HA/homeassistant/backups"
GDRIVE_REMOTE='gdrive:Home Assistant'  # Google Drive remote and folder

/opt/backup_mosquitto.sh
/opt/backup_zirbee2mqtt.sh

echo "$GDRIVE_REMOTE/addons"
rclone sync "$BACKUP_DIR" "$GDRIVE_REMOTE/addons" --verbose
echo "$GDRIVE_REMOTE/core"
rclone sync "/opt/HA/homeassistant/backups" "$GDRIVE_REMOTE/core" --verbose
⚠️ Note:
As you can see, this script synchronizes Home Assistant and the other system backups separately. Zigbee2MQTT and Mosquitto backups are generated by your custom scripts and stored in a shared core backup directory, while Home Assistant maintains its own dedicated backup folder.
Using separate scripts for each system offers several advantages:
Organization: Keeps your backups structured and easy to manage.
Flexibility: Easily include or exclude individual systems from the backup routine.
Maintainability: Smaller scripts are simpler to edit, test, and troubleshoot when needed.
This modular approach ensures your backup process remains robust and adaptable as your setup evolves.
Run the script and check your Google Drive when it’s completed. You should see ‘Home Assistant’ folder in the root with following structure:
- Home Assistant
- addons:
- mosquito
- archives
- zigbee2mqtt
- archives
- mosquito
- core
- arhives
- addons:
Backup scheduling
The last step is configuring a schedule for your backups with the cron service.
Create the crron file:
sudo touch /opt/ha_backupOpen the file with your preferred text editor and add following script:
# Example of job definition:
# .---------------- minute (0 - 59)
# |  .------------- hour (0 - 23)
# |  |  .---------- day of month (1 - 31)
# |  |  |  .------- month (1 - 12) OR jan,feb,mar,apr ...
# |  |  |  |  .---- day of week (0 - 6) (Sunday=0 or 7) OR sun,mon,tue,wed,thu,fri,sat
# |  |  |  |  |
# *  *  *  *  * user-name command to be executed

0 3 * * * root /opt/HA_backup.sh
Adjust the schedule according to your preferences, then save the file.
To activate the backup job, copy it into the cron jobs directory — usually /etc/cron.d/ — to register it with the system’s scheduler.
sudo cp /opt/ha_backup /etc/cron.d/Now, I recommend restarting the cron daemon to ensure that your new job is properly registered and active.
sudo systemctl restart cron