
Hardware recommendation
1. Raspberry Pi 4 8GB: Powerhouse for Home Assistant and Server Tasks
- Performance for Home Assistant: The 8GB RAM ensures smooth operation even with resource-intensive tasks, such as running MQTT brokers, databases for historical data, or add-ons like Frigate for camera monitoring. Unlike the Raspberry Pi 3, which struggles with USB 2.0 bottlenecks (limiting Ethernet to 225 Mbps), the Pi 4 offers true gigabit Ethernet and USB 3.0, enabling faster network speeds (950 Mbps) for streaming or serving content.
- Home Server Capabilities: For a home server, the Pi 4 8GB can handle lightweight web servers (e.g., Nginx) to host a site like diyenjoying.com, where you can place Amazon Associates links for products like smart blinds or Raspberry Pi accessories. The increased RAM supports running multiple services simultaneously—think Home Assistant, a web server, and a NAS for storing your YouTube video files.
- Future-Proofing: With 8GB of RAM, the Pi 4 is well-equipped for future updates to Home Assistant or additional server workloads, unlike the 2GB or 4GB models, which may struggle under heavy loads.
2. DeskPi Pro Case: Enhanced Cooling, Storage, and Accessibility
This description contains affiliate links. As an Amazon Associate, I earn from qualifying purchases.

- Superior Cooling for Stability: Home Assistant and server tasks can push the Raspberry Pi 4 to high CPU usage, especially with add-ons or web serving. The DeskPi Pro includes an ICE Tower Cooler with a PWM fan that adjusts speed based on CPU temperature, ensuring the Pi stays below thermal throttling limits (typically under 80°C). The aluminum case also aids passive cooling, maintaining Wi-Fi and Bluetooth signal strength—crucial for wireless smart devices in your home automation setup.
- Storage Expansion for Server Needs: The DeskPi Pro supports a 2.5-inch SATA HDD/SSD via a USB 3.0 connection, providing ample storage without requiring additional power. This is perfect for a home server, allowing you to store large video files for your YouTube channel or set up a NAS to back up Home Assistant configurations and logs. For example, you can store solar irradiation data from Forecast.Solar for long-term analysis, ensuring your automations remain reliable.
- User-Friendly Design: The case rearranges ports for better accessibility, offering two full-size HDMI ports (converted from micro-HDMI) for 4K output, two front USB ports for peripherals, and a safe shutdown/reset button to prevent data corruption during power cycles. This is particularly useful for Home Assistant, where unexpected shutdowns can corrupt the SD card. The GPIO pins are also accessible via an FPC cable, allowing you to connect sensors or modules (e.g., for your window blinds project) without compromising the case’s enclosure.
Conclusion
Raspberry OS installation onto Raspberry PI 4
microsd card preparation
By default, the unit can boot from MicroSD card only. So, this step should be repeated for USB device (flash card, HDD, or SDD) when bootload from USB would be enabled.
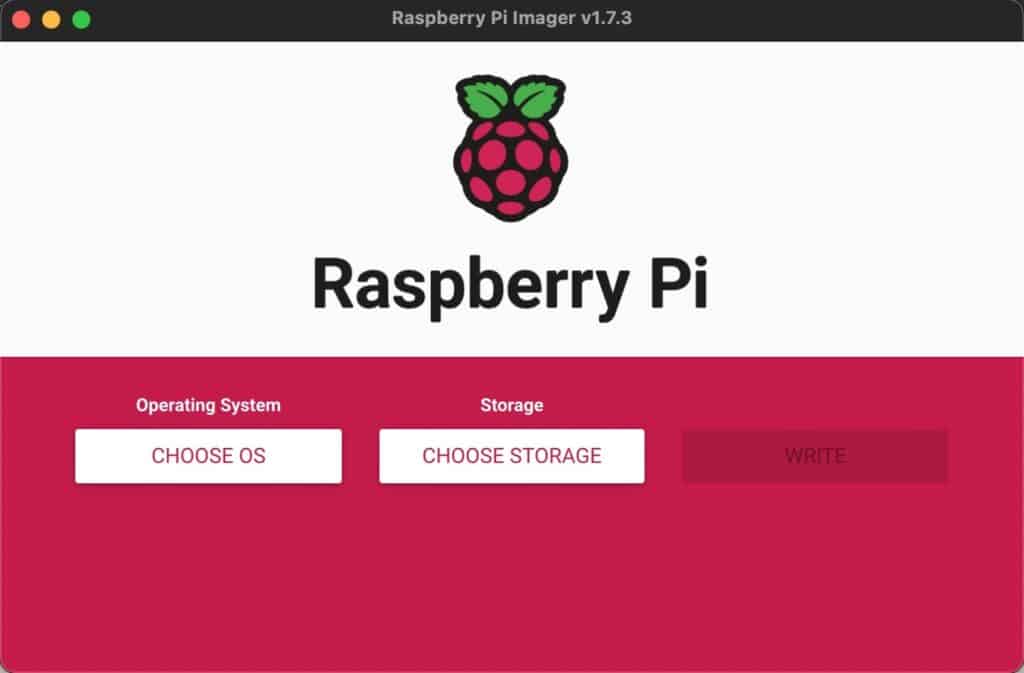
The best tool is the native Raspberry Pi Imager which is available for the following OSes:
So, please download, install, and launch the Imager.
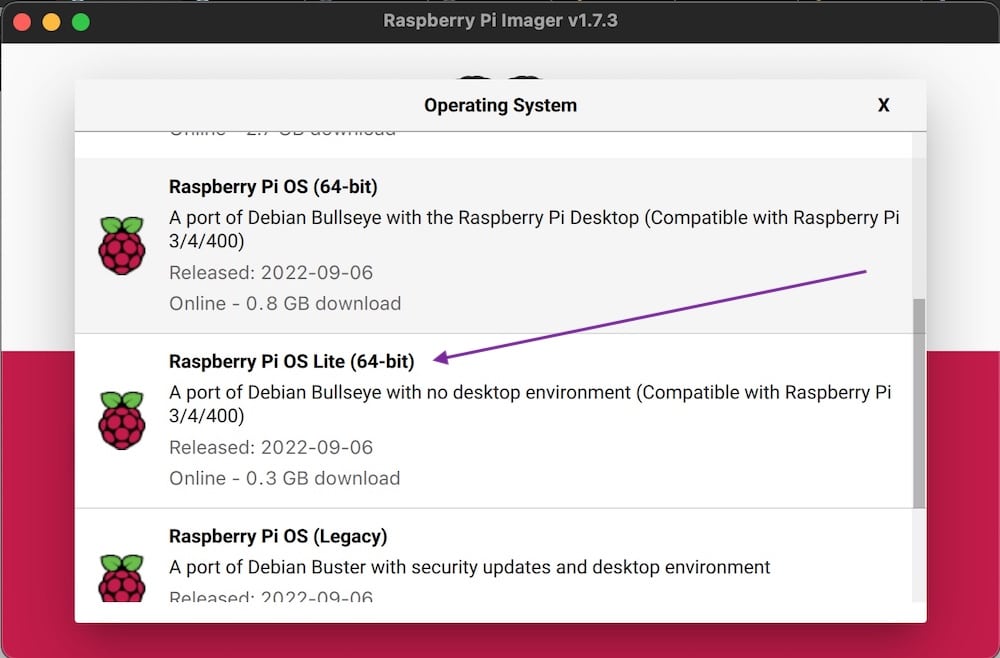
First of all, choose Raspberry OS 64-bit for flashing.
I use the light version without GUI because it isn’t needed for my headless home server.
So, I should find the required version in the menu.

By default Rasberry OS started with disabled SSH.
So, you need a monitor and keyboard for the first logging despite to configured DHCP client on ethernet port.
But, the Imager provides the possibility to enable SSH, set up a user name and password.
Also, WiFi can be configured as well. But I didn’t try this option because I use a wired connection for my home server.
Hence, let’s add the necessary configurations.
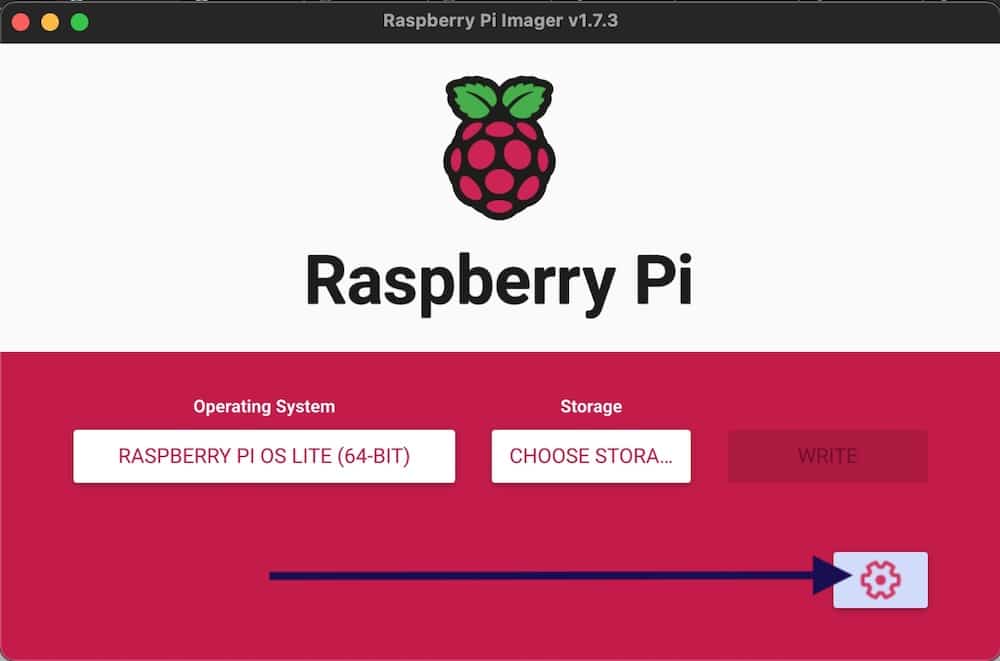
Please set “Image customization option” as “to always use”. I recommend keeping your configuration for further flashings. For example, you will need to flash your USB device in the second step because SD card is limited in the quantity of recording cycles and speed.
Home Assistant writes logs to storage continuously and SD card can be depreciated pretty soon.
The hostname configuration will help you to find your headless device in your network.
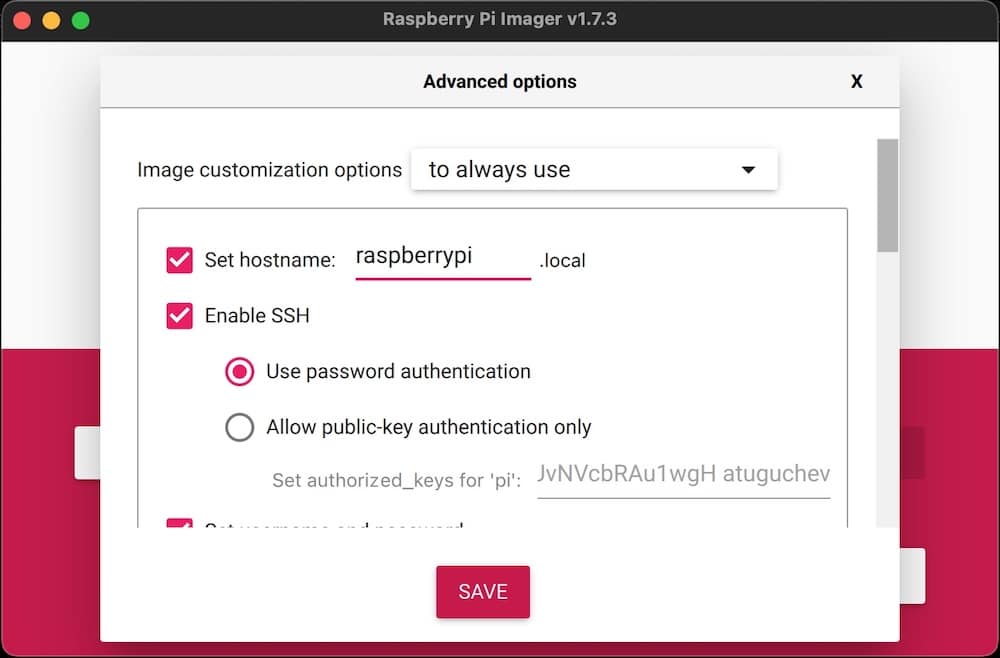
Also, don’t forget to set up your username and password.
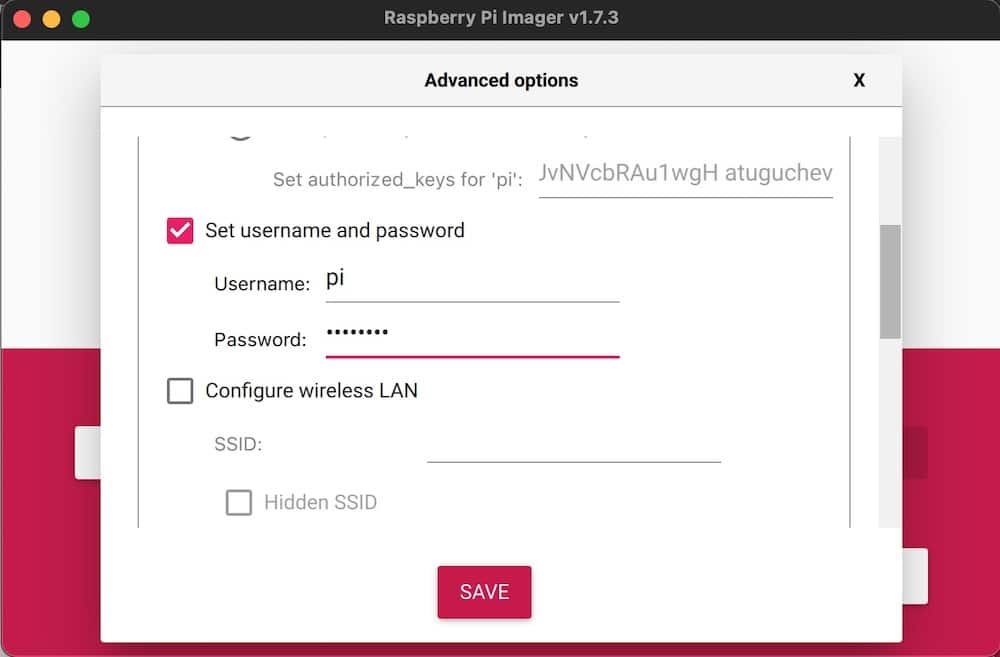
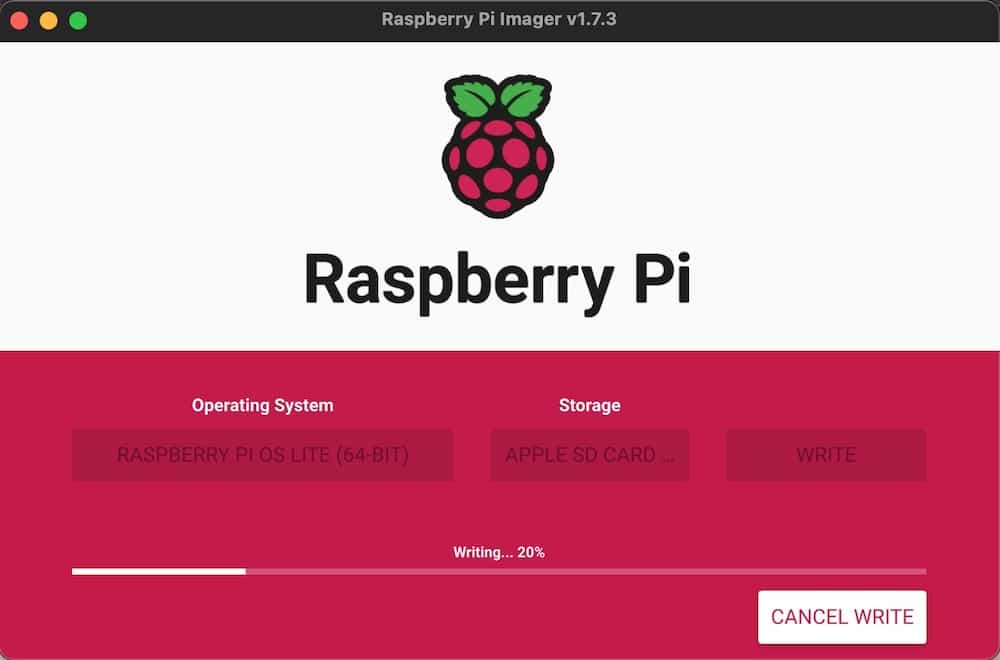
Save your settings, choose your SD card for flashing and start writing process.
launch your raspberry pi
- MacOS & Linux: arp -a | grep raspberry raspberrypi.home (192.168.1.xx) at xx:xx:xx:xx:xx:xx [ether]
- Windows: You will need Advanced IP Scanner
Raspberry OS Configuration
Unfortunately, you must spend time on this step despite whether you will stay with SD card or will switch to USB storage because of the necessity to check updates for the Raspberry configuration tool and bootloader.
So, start update process with following command and order a pizza because of long time process due to pretty slow speed of SD card.
pi@raspberrypi:~ $ sudo -s
root@raspberrypi:/home/pi#
/home/pi# apt update && apt upgrade -y
When the update process is completed, you can configure the necessary options with following command:
root@raspberrypi:/home/pi# raspi-config 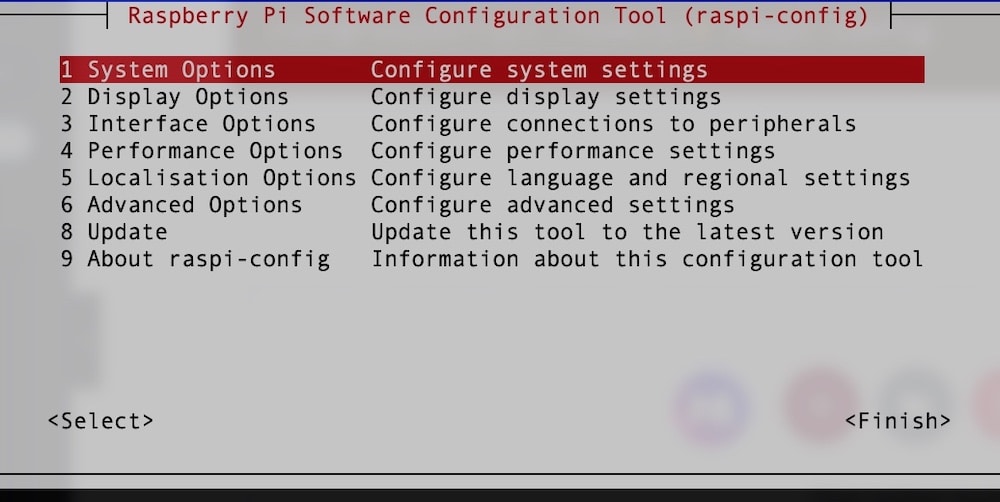
You need “Advanced Options” for switching to LAST bootloader version and getting additional features as a result.
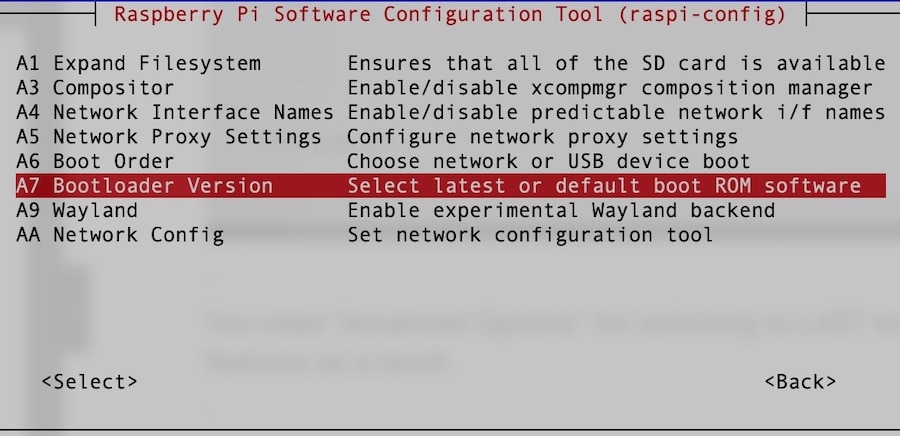
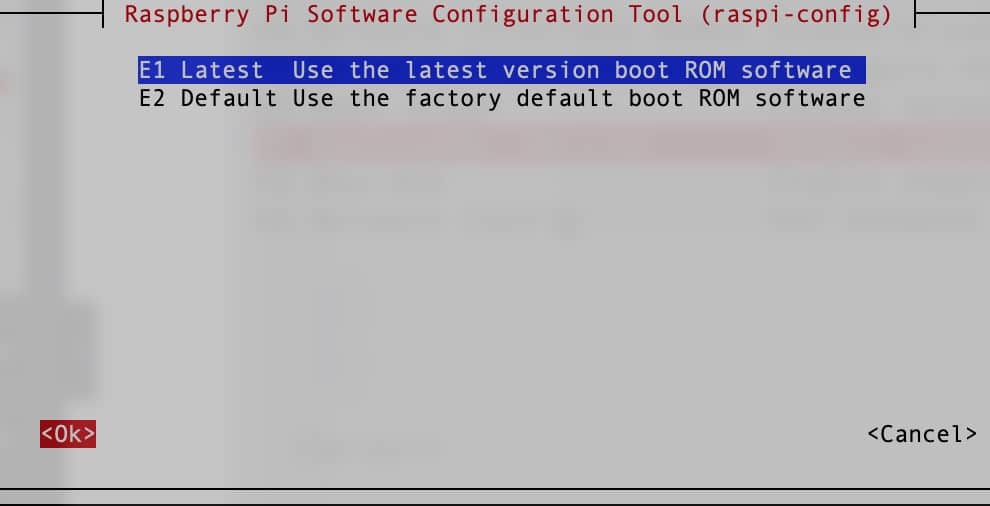
You will need to reboot after this switching to the last version.
So, let’s do it.
After reboot please login into our device, start raspi-config, and go to advanced options again.
Now you need “Boot Order” menu:
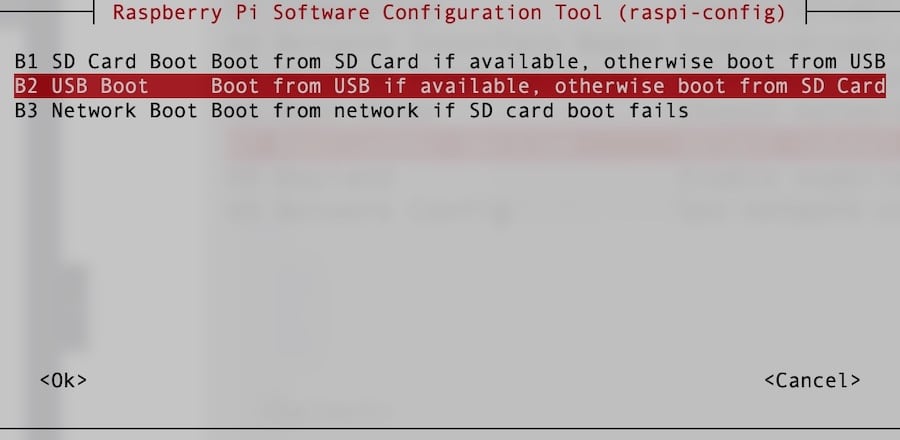
Please use “USB boot” to switch to USB storage.
I’d like to draw your attention to the possibility of booting from SD card as a backup if you will have any issues with your USB storage!
You must reboot your device again to apply a new options.
Let’s do it.
Now you must repeat all steps above but with USB storage instead of SD card if you want to use it.
Please don’t forget to remove SD card from your device to be sure that you can boot from USB storage!
home assistant installation with supervisor
why supervised version is needed?
Home Assistant supervised is an all-in one-solution and has a management user interface that can be used from the Home Assistant frontend. This interface is not present in a Home Assistant Core setup.
This interface allows using additional addons and configurations!
Install the necessary dependencies
Use the following commands to install the necessary packages from Rasberry os repository:
pi@raspberrypi:~ $ sudo -s
root@raspberrypi:/home/pi#
/home/pi# apt update && apt upgrade -y
apt-get install \
apparmor \
jq \
wget \
curl \
udisks2 \
libglib2.0-bin \
network-manager \
dbus \
systemd-journal-remote -y
Install docker-ce because HA uses it.
curl -fsSL get.docker.com | sh
HA depends on OS-Agent.
As can you remember you installed 64-bit OS onto your Rasperry. So, you need OS-Agent for aarch64 platform.
Check the latest version with the link.
wget https://github.com/home-assistant/os-agent/releases/download/1.3.0/os-agent_1.3.0_linux_aarch64.deb
dpkg -i os-agent_1.3.0_linux_aarch64.deb
Let’s check the installation with the following command:
gdbus introspect --system --dest io.hass.os --object-path /io/hass/osYour output should look like following:
node /io/hass/os {
  interface org.freedesktop.DBus.Introspectable {
    methods:
      Introspect(out s out);
    signals:
    properties:
  };
  interface org.freedesktop.DBus.Properties {
    methods:
      Get(in  s interface,
          in  s property,
          out v value);
      GetAll(in  s interface,
             out a{sv} props);
      Set(in  s interface,
          in  s property,
          in  v value);
    signals:
      PropertiesChanged(s interface,
                        a{sv} changed_properties,
                        as invalidates_properties);
    properties:
  };
  interface io.hass.os {
    methods:
    signals:
    properties:
      @org.freedesktop.DBus.Property.EmitsChangedSignal("true")
      readwrite b Diagnostics = false;
      @org.freedesktop.DBus.Property.EmitsChangedSignal("invalidates")
      readonly s Version = '1.3.0';
  };
};
vi cat /boot/cmdline.txtAdd the following parameter to the first line of your file: lsm=apparmor
Also, following parameters must be added to first line to enable cgroud for docker compatibility:
cgroup_enable=memory cgroup_memory=1
And reboot.
Install Home Assistant
So, finally, your Raspberry is ready for Home Assistant supervised.
Let’s intall it!
wget https://github.com/home-assistant/supervised-installer/releases/latest/download/homeassistant-supervised.deb
dpkg -i homeassistant-supervised.deb
During the installation process, you will be asked about your platform. So, make a right choise.

As a result you should see following output:
[info] Install supervisor startup scripts
[info] Install AppArmor scripts
[info] Start Home Assistant Supervised
[info] Installing the 'ha' cli
[info] Switching to cgroup v1
[info] Within a few minutes you will be able to reach Home Assistant at:
[info] http://homeassistant.local:8123 or using the IP address of your
[info] machine: http://YourIP:8123
[warn] A reboot is required to apply changes to grub.
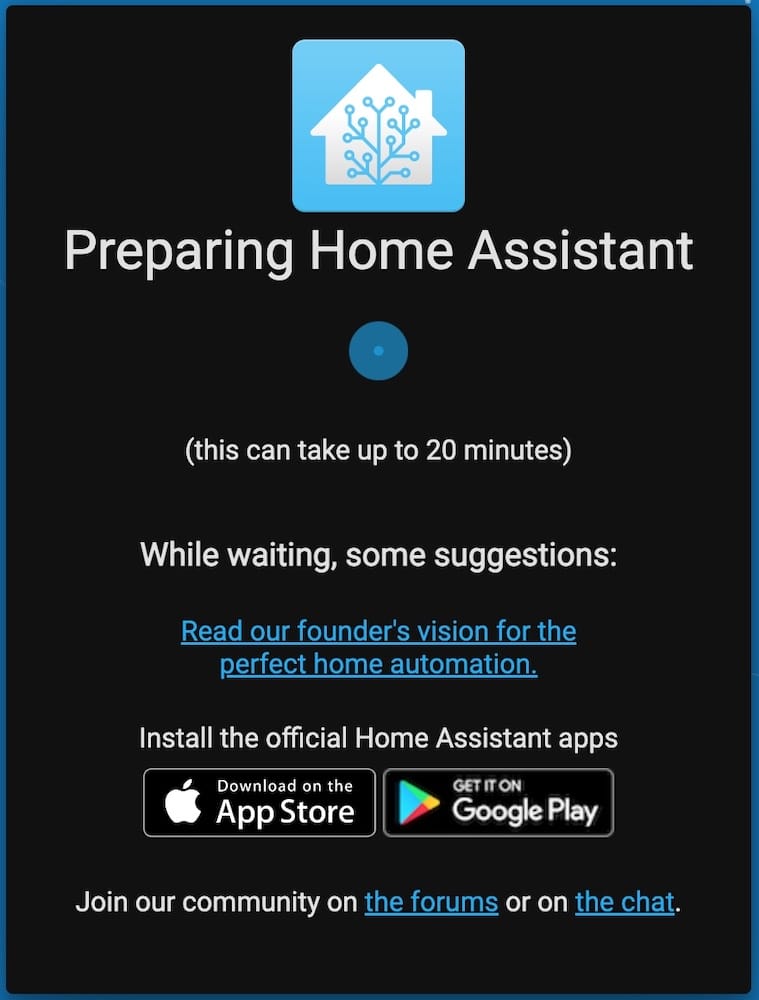
Please reboot your device and be patient because HA can’t be launched immediately!
Firstly, it must download all necessary docker images.
You can check if HA is launched with following command:
netstat -nlp | grep 8123
tcp6       0      0 :::8123                 :::*                    LISTEN      3249/landingpage
If you don’t see HA port available you can check the status with following command
cat /var/log/syslog | grep supervisorHA still downloading images if you see something like this:
 hassio-supervisor[1298]: [WARNING] Supervisor image missing, downloading a fresh one: latest
 hassio-supervisor[1337]: latest: Pulling from home-assistant/aarch64-hassio-supervisor
 hassio-supervisor[1337]: 9b18e9b68314: Pulling fs layer
 hassio-supervisor[1337]: e35399852765: Pulling fs layer
 hassio-supervisor[1337]: 0d8adb443fc3: Pulling fs layer
 hassio-supervisor[1337]: 92f670f83005: Pulling fs layer
 hassio-supervisor[1337]: 8666f1e9abfa: Pulling fs layer
 hassio-supervisor[1337]: aaf46da0b598: Pulling fs layer
 hassio-supervisor[1337]: 751fd79842b9: Pulling fs layer
Please be aware that even port is active the installation can be continued with following screen in a web-browser:
You still can check the process in the log until you see:
 (SyncWorker_0) [supervisor.docker.interface] Stopping homeassistant application#033[0m
 (SyncWorker_0) [supervisor.docker.interface] Cleaning homeassistant application#033[0m
 (MainThread) [supervisor.homeassistant.core] Home Assistant docker now installed#033[0m
 (MainThread) [supervisor.homeassistant.core] Starting Home Assistant
After all you should see screen with prompting to setup you Home Assistant local account:
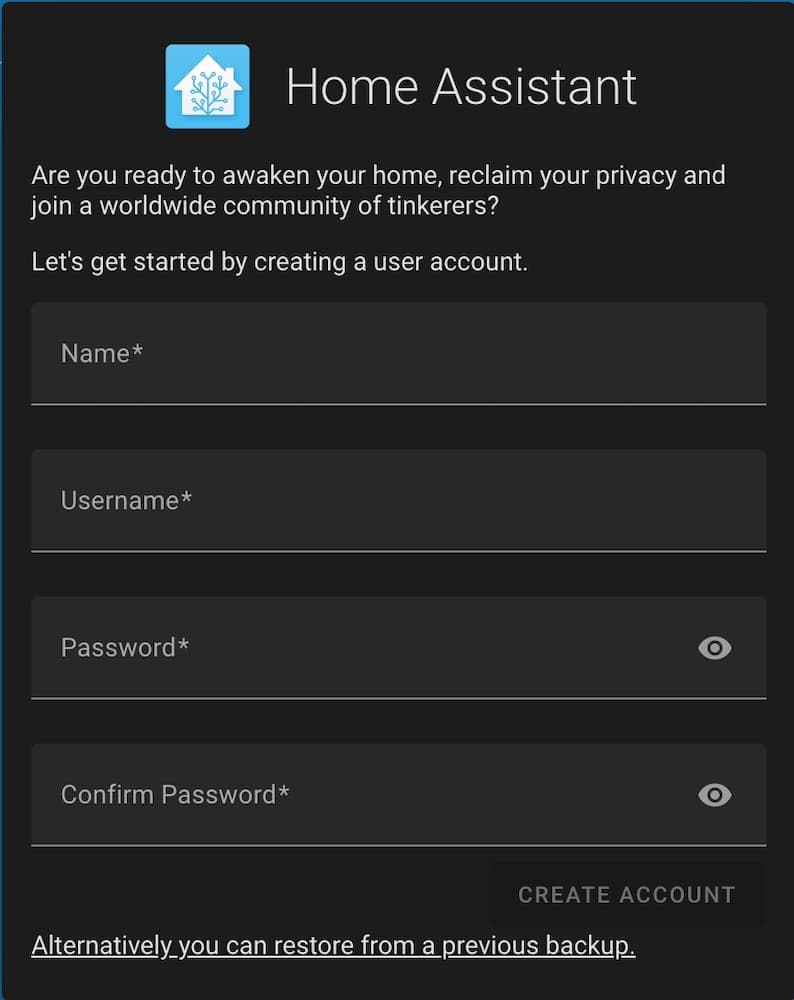
Now, your HA is ready to start your journey in Smart Home world!
Please feel free to ask any questions in the comments!
HOW TO INSTALL OpenVPN on OpenWRT – For secure access to your HA from anywere.
Problems and solutions
I was faced with an inability to update HA once during half of year due to an error:
Error updating Home Assistant Core ‘HomeAssistantCore.update’ blocked from execution
I fixed the issue by reinstalling the HA package with following commands:
dpkg --remove homeassistant-supervised
 wget https://github.com/home-assistant/supervised-installer/releases/latest/download/homeassistant-supervised.deb
dpkg -i homeassistant-supervised.deb 

Hi great tutorial, i follow all the steps and succeded. my question is how you connect samba or ftp with windows 11??
Hi, you need to set up Samba server to make shared folders for windows.
Please see the answer in my another article https://www.diyenjoying.com/2022/05/18/btrfs-with-samba/