Home Assistant encompasses numerous integrations with various systems and services, with even more continually being developed by the HA community.
Therefore, you must install HACS, which facilitates the installation of these addons.
I hope you have followed my article and installed HA supervised. Otherwise, you can find relevant instructions on the HACS site.
Install HACS
You should run following command to install HACS on the HA instance:
sudo wget -O - https://get.hacs.xyz | bash -

INFO: Creating HACS directory...
INFO: Unpacking HACS...
INFO: Removing HACS zip file...
INFO: Installation complete.

INFO: Remember to restart Home Assistant before you configure it
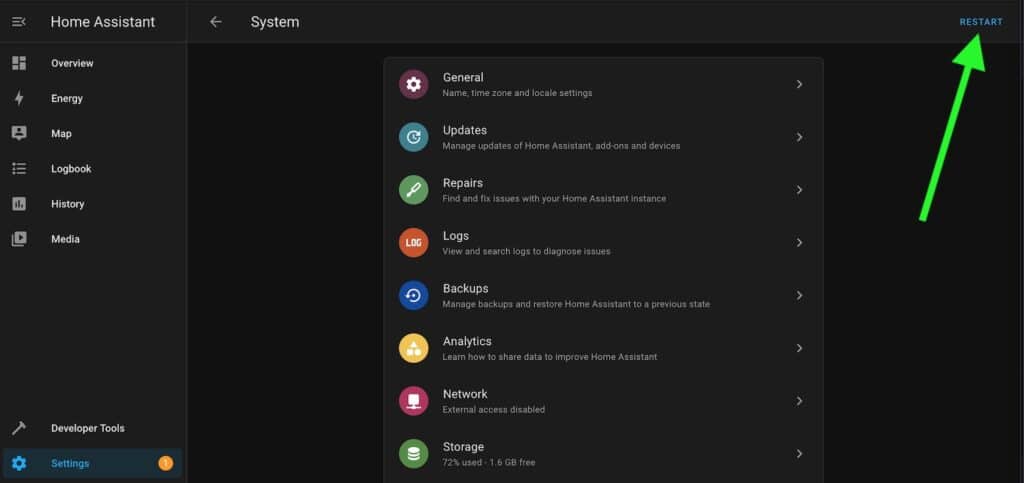
Now you have to restart your HA from web interface: Settings-> System -> restart.
Home Assistant launches a pretty long time. So, you can check if all HA containers started with Portainer.
You can find a guidance on how to install Portainer in my article.
After reboot, you MUST clear the cache and cookies in your browser for your HA site. Otherwise, further steps will be impossible.
Now, you should configure your HACS integration from: “Settings” -> “Devices & Services” and click on “+ Integration” button.
“Set up a new integration” window will be openned.
Please find HACS integration:
In the next step, you will be asked to allow HACS integration with your GitHab account.
HACS needs it to get community addons from GitHub.
So, create your own GitHub account if you don’t have it before the next step.
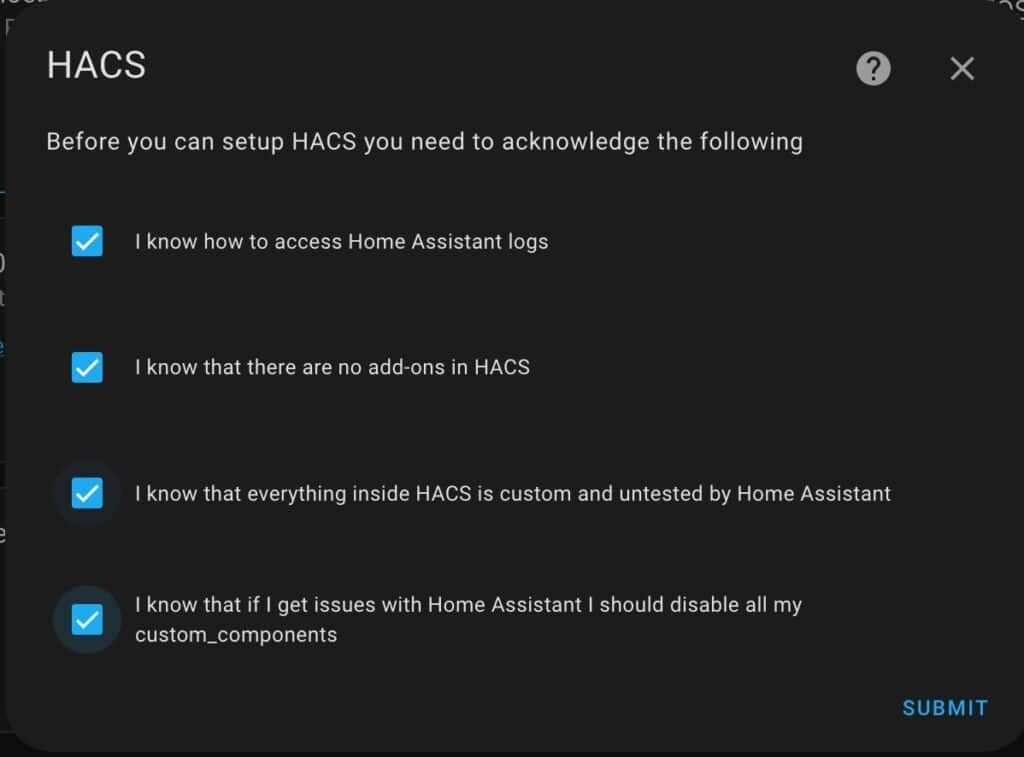
Click on HACS and select all check-boxes:
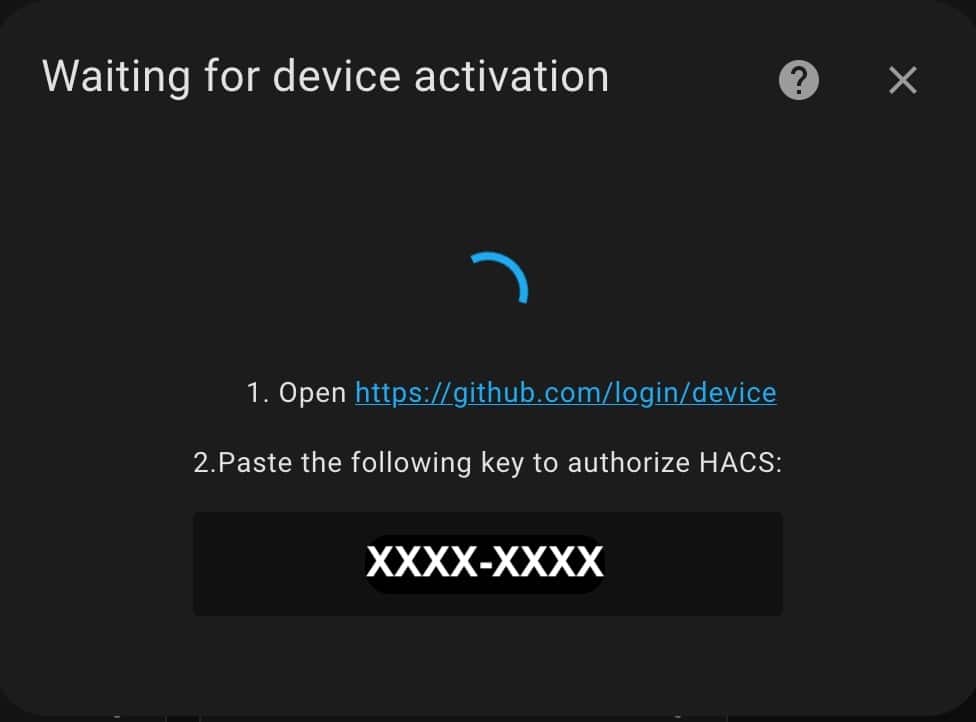
Please authorize HACS integration with GitHub using a link and code from the following screen:
And finalize adding the integration.
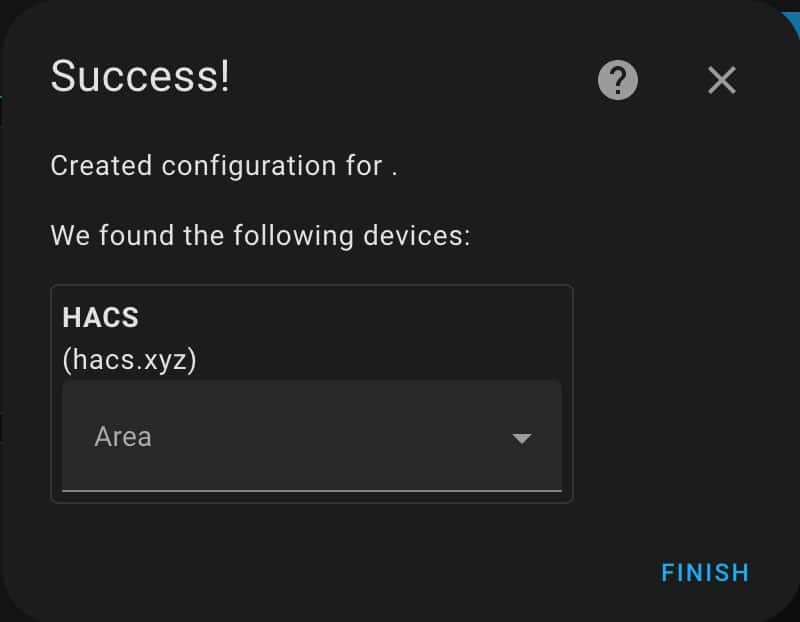
As a result, HACS menu will appear on the left menu.
Please click it and the Integration menu. Here, please click “+ EXPLORE & DOWNLOAD REPOSITORIES”.